


Lighting adds mood to a room – but can also affect one’s own. For example, bright lights in bedroom can cause problems with sleep and psychophysiological insomnia treatment is necessary then.
Here’s how easy and affordable it can be to make your own standing lamp to create just the right atmosphere.
Project Guide
Difficulty Rating: easy Time Needed: 2 hours
Shopping List
- 1 800 x 380 x 19mm laminated pine board
- wood glue
- 30mm chipboard screws
- wood stain and varnish
- 22mm flange fitting
- 1 400mm x 22mm chrome-plated tubing
- 5m electrical cord and plug (Note: Make sure that the electrical cord you purchase will pass through the tubing)
- electrical cord saddles
- light socket fitting
- toe-touch switch
Tools
- tape measure
- pencil
- jigsaw
- belt sander or orbital sander
- cordless drill
- 8mm drill bit
- G-clamps
- router
- pipe cutter
- pliers/wire stripper
Get Started
1 Mark circles of 300mm diameter along the 1 800 x 380 x 19mm laminated pine board section.
TIP: Use an offcut piece of wood to make a simple compass. Drill a 3mm hole for a nail, then measure 150mm from the hole and drill another hole (about 6mm) for the pencil. Place the compass onto the wood with the nail positioned in the middle (use the tape measure to determine the center). Hammer the nail slightly into the wood. You will now be able to draw perfect circles, as shown.
2 Use the jigsaw to cut four 300mm discs from the pine board.
3 Laminate the four discs together using the wood glue to form a base. Screw each disc to the one below using the 30mm chipboard screws.
4 Use a belt sander or orbital sander to smooth (and round) the combined edge of the base.
5 Use the cordless drill and 8mm drill bit to drill a hole through the center of the base. This is to allow the electrical cord to pass through the base.
6 Clamp the base to the workbench while you use a router to create a channel in the base for the electrical cord.
7 Stain and varnish the base, allowing adequate drying time before continuing with the project.
8 Fasten the flange bracket over the hole.
9 Use a pipe cutter to create a neat perpendicular end to the pipe. This will ensure that it sits straight up within the flange bracket. Thread the electrical cord through the tube and base and push the tube snugly into the bracket.
10 Connect the light socket fitting, as shown.
11 Pull the cord taught so that the light socket fitting sits tightly at the top of the tube and secure the cord underneath the base using a couple of electrical cord saddles, as shown.
12 Strip a short section of the covering from the cord about 200mm from the base and connect the switch, as shown.
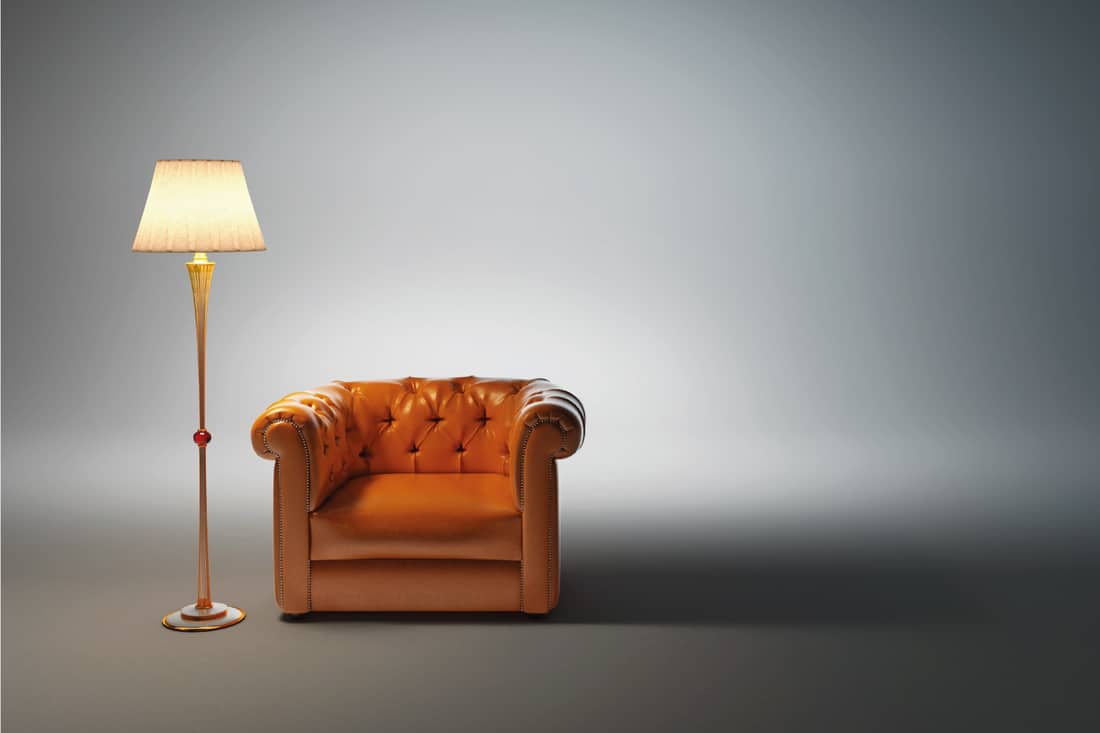
13 Construct an affordable lampshade using a lamp-shade frame and cable ties. Add an additional ring or two (as shown here) in order to create more texture and add fullness to the shade. Alternatively, add any variety of shade to your standing lamp and simply enjoy the mood.